
When you teach kids to Identify and Count Coins in First Grade, you’ll need to know the objectives and be ready with aligned lesson plans. This post can help with a breakdown of the standards and multiple free resources.

To see the First Grade Money Standards for the Common Core and the TEKS, click the image above.

Vertical Alignment is so important when planning your lessons. You need to know what your students should already know and what they should know when their first grade years is over. Vertical alignment looks at the Kindergarten Standards as well as the Second Grade Standards. It sets you and your students up for SUCCESS! Click the image above to see the Vertical Alignment.

3. The Breakdown: Identify and Count U.S. Coins
When first graders leave first grade, they should be able to:
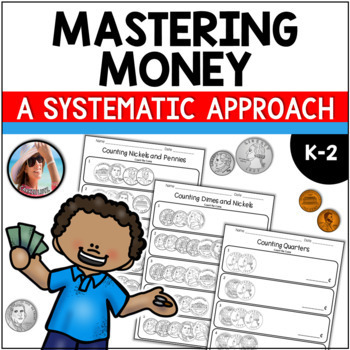
- recognize and determine the value of the penny, nickel, dime and quarter.
- count pennies, nickels and dimes by skip counting by 2’s, 5’s and 10’s respectively
- know that 5 pennies are the same as a nickel, 2 nickels are the same as 1 dime, and 2 dimes and a nickel are the same as a quarter.
Students also must know:
- skip counting by 2’s, 5’s and 10’s to one hundred
Recommended Progression:
- Penny – Introduce then count by ones
- Nickel – Introduce then count by 5’s – No more than ninety-five cents
- Dime – Introduce then count by 10’s – No more than ninety cents
- Quarter – Introduce Only

4. The Teach: Let’s start at the beginning
They will make a nice display as well as assist struggling students during your money unit.
The RIGHT Manipulatives: REAL COINS

When you introduce money, ask your students to bring a baggie with a penny, nickel, dime and quarter. Email their parents with this request as well. I always tell the parents that there is a chance these coins will not make it back home. For this reason, parents should not send rare or sentimental coins to school.
Identify and Count Coins Mini Lesson Idea:
If you have a document camera, project the coins, starting with the penny and have students hold up their coin. Discuss the coins with this set of objectives:
- Name of Coin
- Value of Coin
- What’s on the Front (Heads)
- What’s on the Back (Tails)
- Bumpy or Smooth
All of these will help students identify the coins on worksheets, once they are no longer using real coins.
Be prepared for the students that didn’t bring the coins by bringing some from home.
After you’ve introduced the coins using the real thing, you can use resources with colored coins and finally move to the coins shown on a worksheet which have no color at all.
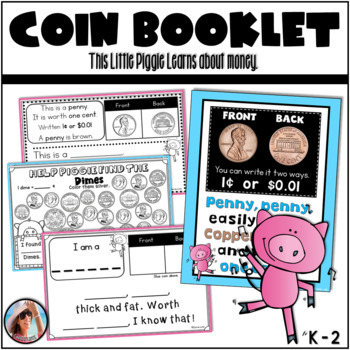
Anchor Chart Information
When you introduce each coin, create an anchor chart and tell about each coin. This will help the students remember the coins. This information was mentioned above, but the repetition will help your students master the objectives. Click the image below to grab your ANCHOR CHART KIT.
- Name of Coin
- Value of Coin – Write with cent mark
- Front of Coin
- Back of Coin
- Bumpy or Smooth Edges


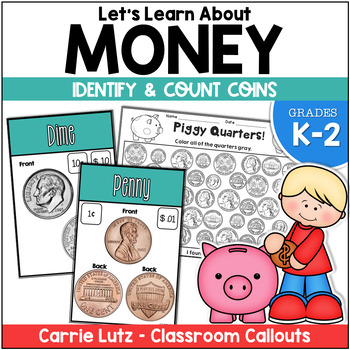
5. The Practice:
Now that you’ve introduced and practiced each coin, you can let your students practice identifying and counting coins with these super fun practice pages. Click on the image below to grab these for free!

More Money Practice Resources:
 |
 |
 |

6. The Small Group Instruction: Hairy Money
Click on the image below to grab this free resource.

Have you ever used HAIRY MONEY while teaching counting coins?
It’s such a fun and helpful strategy. It’s called hairy money, because you add one mark one each coin when counting by 5’s. The money then looks like it has hair. After adding the “hair,” kids just count by 5 until they’ve counted all of the money. If there are pennies involved, they will just switch over to counting by ones. EX. 5, 10, 15, 20, 21, 22, 23.
Note that kids that can’t count by 5’s to 100, will struggle with this strategy.
Small Group Ideas:
Here are some ideas for your small group:
- Hairy Money
- Using real coins, have students count a set of coins
- Using real coins, have students tell you the value of a set of coins
- When given a value, have students draw coins on a dry erase board (draw a circle and add a value such as a 1, 5 or 10 inside the circle).
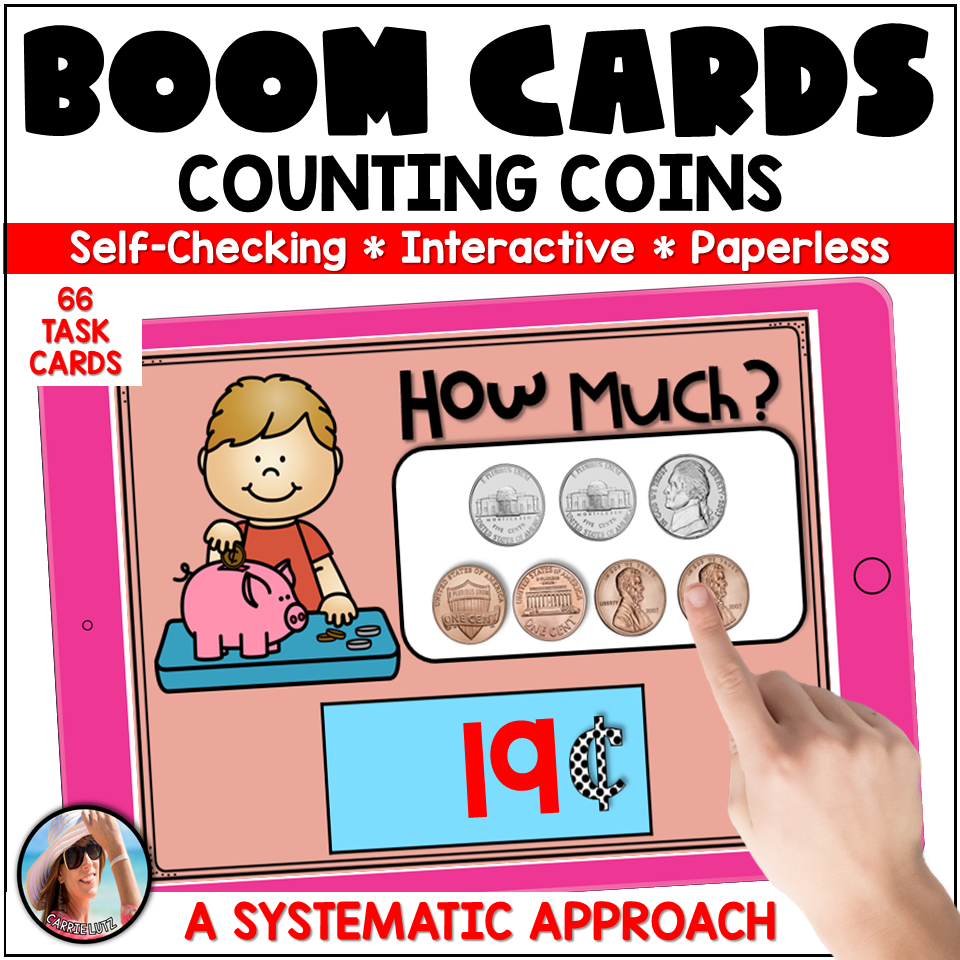
Other FUN ways to practice Identifying and Counting Coins:
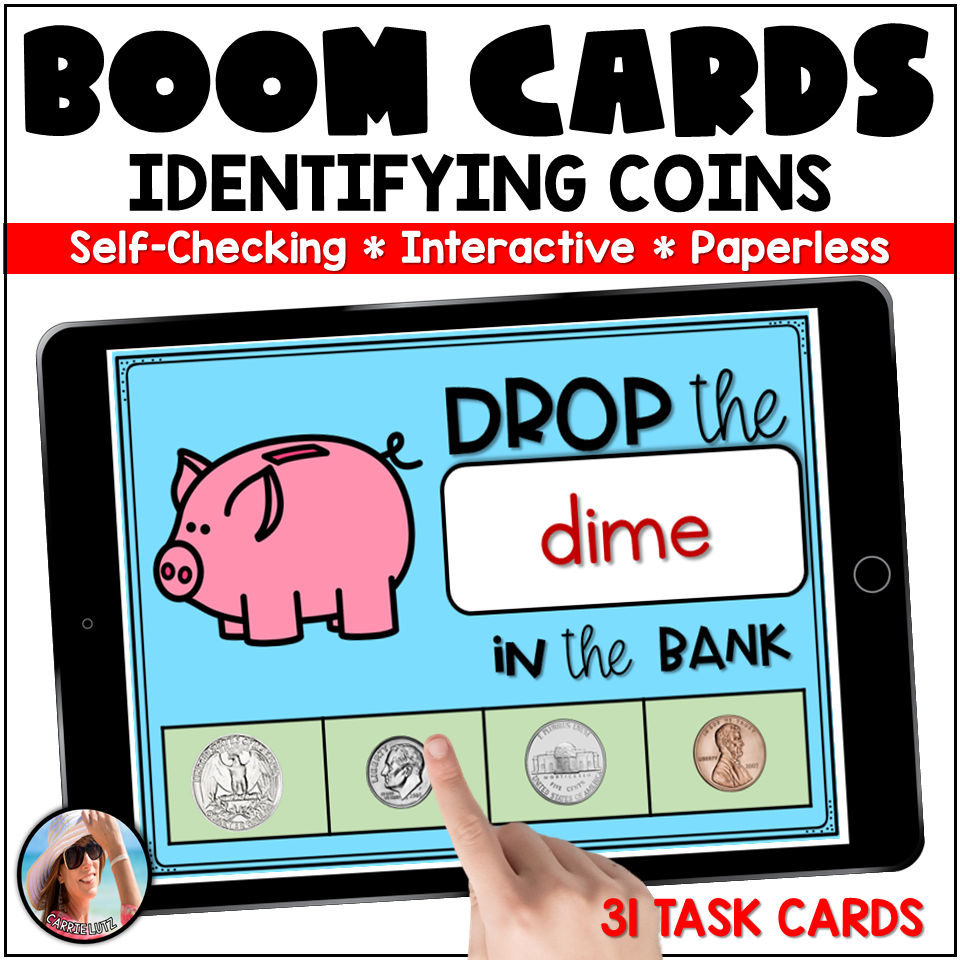
Boom Cards make learning fun. They are Self-Checking, Interactive and Paperless!
Click here to read my Blog Post about Using Boom Cards.
 |
 |

7. The Learning Centers:
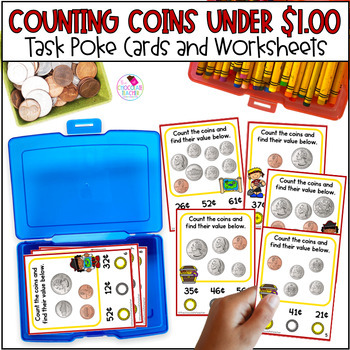
These Task Cards involve counting coins then determining what students can “buy’ with the coins. There are 12 Task Cards and a Recording sheet. Click the image below to grab these free task cards for practicing Identify and Count Coins.

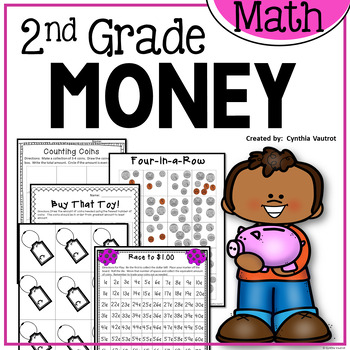
Here are additional resources from my friends Carol (The Chocolate Teacher) and Cynthia (My Kind of Teaching)
Online Games:

8. The Fun
If you have a day that you need your kids to be busy for a while, this Money Mobile will do the trick. Click the image to grab the freebie.

Don’t forget to pin the image below to your Teaching Resources board for future use.

<
strong>Click on the link below to sign up for notifications of new posts from the Breaking Down the Standards Series AND Grab a Free Money Clues Activity!
Thank you for stopping by!
-Carrie Lutz
Thank you!
Thank you!!
Good info!!
Thank you so much!!